Often you obtain new areas of land or forest these areas will need to be brought into your GeoMaster Forest Information system. If you haven’t been given the new areas in a shapefile the first task is to map these new areas. You can either do this by creating in a new shapefile (preferred method as it avoids editing the main ‘Patch’ layer as much as possible) or you can create the areas (polygons) directly into the ‘Patch’ layer (useful when you wish to create ‘Auto-Complete’ polygons i.e. those that share a boundary with an existing patch).
METHOD 1: Using an exisiting polygon from another layer
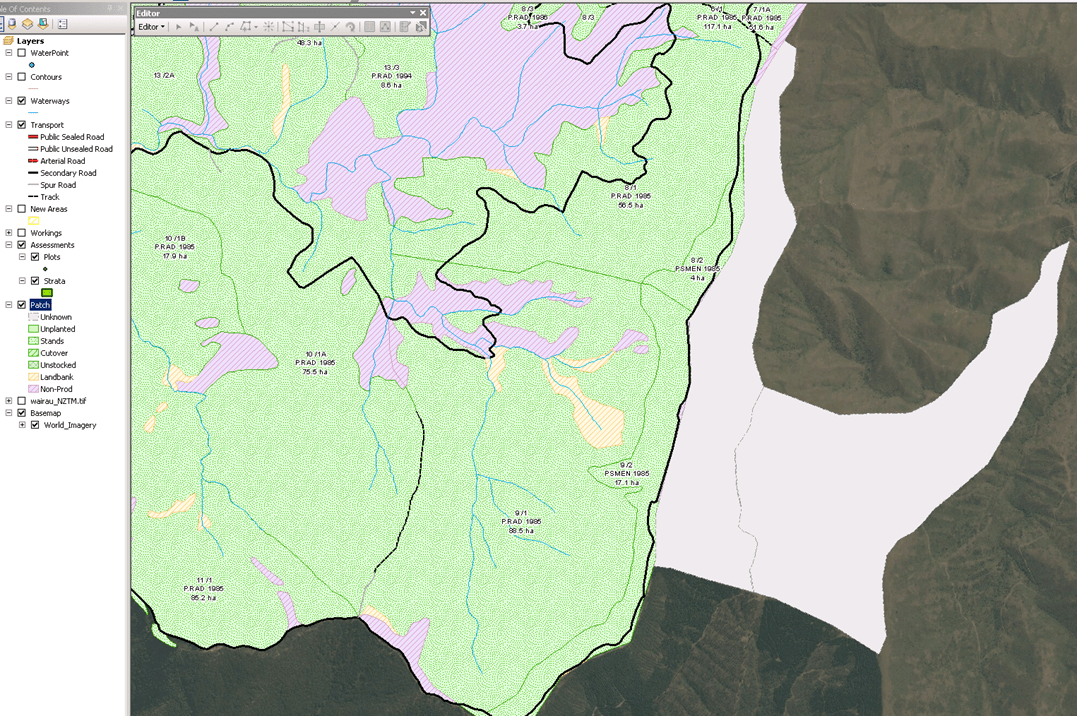
In the first example below I have a ‘New Areas’ layer consisting of one polygon I have mapped of a newly acquired piece of land (in yellow hatch below) which needs to be added into GeoMaster to then start managing and establishing in forest.

First task is to copy the new polygon(s) into the ‘Patch’ layer. To do this click the ‘Prepare Patch Layer for Editing’ tool on the GeoMaster toolbar in ArcGIS.

Now select the polygon you wish to add into the ‘Patch’ layer

Use the Copy and Paste tools to copy the polygon into the ‘Patch’ layer, ensuring the ‘Target’ layer is ‘Patch’. Please OK.

The area will now turn grey as the new area is currently in the ‘Patch’ layer but is not yet connected to GeoMaster. Use the Editor Toolbar to save changes and stop editing (as in general editing).

Method 2: Directly Edit the Patch Layer
If you prefer to create your new area(s) inside of the patch layer because they share a common boundary with an existing patch click the ‘Prepare Patch Layer for Editing’ tool on the GeoMaster toolbar in ArcGIS as above and, to make it easier to map, on the GeoMaster tool bar select View>Edit Mode. This displays the patch layer in yellow outline for ease of mapping.

Complete your mapping by creating the new polygon and once finished use the Editor Toolbar and save your edits and stop editing. On the GeoMaster tool bar select View>Patch Class to revert the display back to Patch Class. Your new area will appear as grey.

Patch Layer displayed in ‘Edit Mode’
Patch Layer displayed in ‘Patch Class’
Adding the Area to be Managed in GeoMaster
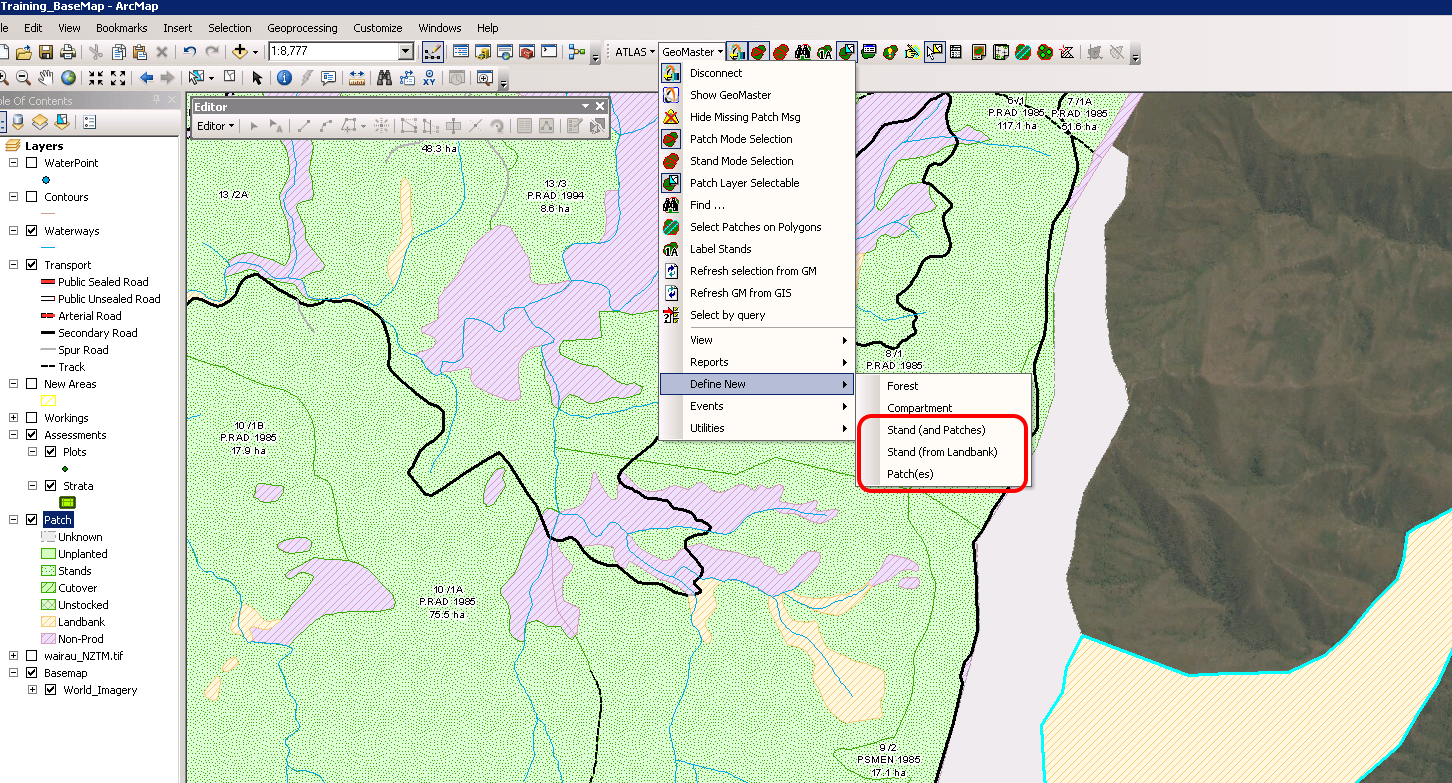
You are now ready to add these areas into GeoMaster. In ArcGIS make sure you are connected to GeoMaster and select a polygon you wish to add. Under the GeoMaster toolbar select Define New>Patch(es) – NOTE you can select and add multiple patches at once if they are going into the same Compartment within the same Forest.

Complete the Patch Details Dialog box that pops up, filling out all relevant details. Forest and Compartment are mandatory. Indicate whether the patch is Non-productive or not and choose the appropriate patch type (i.e. Normal for typical productive land or bush for non-productive bush areas). Fill out the ‘Active From’ date ensuring you use a date which is before any operations have or will take place on the patch. Click the red tick. Repeat for each subsequent area you wish to add. You will notice the areas change from grey to the light brown hatch indicating the areas are now in GeoMaster as ‘Landbank’. Events, site as site preparation, can now occur on these areas.


Once Added to GeoMaster the New Patch Appears in Landbank.
You can use the same process to create a Stand from your new Landbank area(s). NOTE you could have also created the Patch(es) and Stand as a combined step, instead of creating Patch(es) and then Stand (from Landbank), which might be useful if the new areas will create one stand in the same compartment and forest.

New Stand Details Dialog
If you need more information about GeoMaster and our cloud based services please feel free to contact us: cloud@interpine.co.nz