One of the common tasks as a forester monitoring operations is the use of GPS to collect operation/event areas. This might be waypoints and/or tracks of operations from handheld GPS units or collected by aerial operations done by helicopters and planes. We then can use this data to upload progress updates or record actual activity/event areas inside our ArcMap /GeoMaster records. Using the work in progress layer (which we covered in a previous post “Monitoring Forest Operations Progress with GeoMaster“) GeoMaster makes this easy with regards updating work in progress, cutover extents and GIS event areas. However we first need to get the GPS data downloaded and available in ArcMap to do this!
There are a couple of ways:
- The first has been commonly used for several versions of ArcMap now using a freely available application called DNRGPS (previously DNRGarmin);
- The second being the use of the GPS Feature Conversion tool available from ArcMap 10.1 onwards (I will cover this in another post).
Firstly a quick reminder of the Work in Progress Layers available for use within GeoMaster / ArcMap.
Our basic aim is to get a polygon of work area into either the Work in Progress Layers for events (Figure 1) or for Cutover layer for harvesting (Figure 2) in GeoMaster within ArcMap. GeoMaster then just detects the intercept of this polygon with the underlying patch and or settings layer to update work in progress.
Figure 1 Schematic showing how two additional layers used for monitoring work in progress for events inside GeoMaster.
Figure 2 Schemtic showing the cutover layer for monitoring Harvesting inside GeoMaster.
Using DNRGPS for downloading GPS’s and covering data to shape files or GPX formats.
For this example let’s use the task of walking an operation/event boundary to update work in progress. I will assume we walked the boundary using a Garmin GPS unit like the Garmin Map62S and have copied from this unit the track log as a GPX file. We can then load this GPX file into DNR GPS, then save this directly into an ArcMap Layer (or save as a separate shape files).
- Download your GPS. Assuming a Garmin Map62S device; just plug into your PC using a USB cable and browse to the internal storage on the GPS and copy the track (for example: current.gpx) or waypoint GPX file you have collected.
- At this point copy this file to the cloud services desktop (just copy and paste from your own PC).
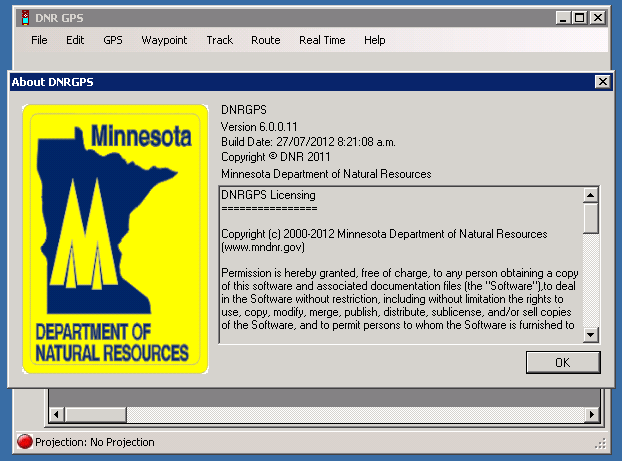
- Start DNRGPS (Available for all our Cloud Services users)
- From the file menu select Load from File, change the file type to GPX, and select your file.
You can save the data that you have collected on your GPS receiver directly to a “GIS readable” file (e.g., shapefile).
- Make sure the file that you want to save (e.g., waypoints, tracks, routes) is “visible”
- Under the <File> menu, select <Save To>, and <File>.
-
To save in a GIS compatible format:
- Enter a <Filename>.
-
Under the <Save As Type>, option, choose either:
- ArcView Shapefile (Projected)- this option saves data directly to a GIS-compatable shapefile according to the user-defined projection
- ArcView Shapefile (Unprojected)- this option saves data directly to a GIS-compatible shapefile as well, but according to the unprojected coordinates directly from the GPS unit.
- You will be prompted to select the feature class type (for track or route just select Line, for waypoints select point).
Presto! You have created a GIS-compatible file from your GPS data.
-
Now in ArcMap just load the shape file using the Add Data tool bar icon. You will now see the
-
You will now see this inside ArcMap appearing in the table of contents. To quickly get to see the GPS tracks or waypoints; right click on the shape file layer and select Zoom to Layer.
Often the track you just loaded is not yet a “polygon area” and just a set of lines where you walked. Normally you will want to trace over the top of this now and create a polygon of area rather than using the actual GPS line (as it is not joined as a polygon, and often a couple of tweaks are best made because we might have walked around some things which we sound now include).
- Right click on WorkInProgress layer and select Edit Features. Select to create a polygon. Using the “Trace” tool from the Editor Toolbar in ArcMap is useful to trace the shape of the GPS track altering it where applicable to suit your knowledge.

- Now we have a polygon created in the work in progress layer, just follow our previous blog post about “Monitoring Forest Operations Progress with GeoMaster > Record the Exact Work in Progress Area Using GIS/GPS”
Note DNRGPS is also useful on your own PC, as it will also get the tracks directly off your unit if you would rather do this than copy of the internal memory on the GPS. GeoMaster and ArcMap are part of our cloud services for forest management. If you would like more information feel free to contact us at cloud@interpine.co.nz


